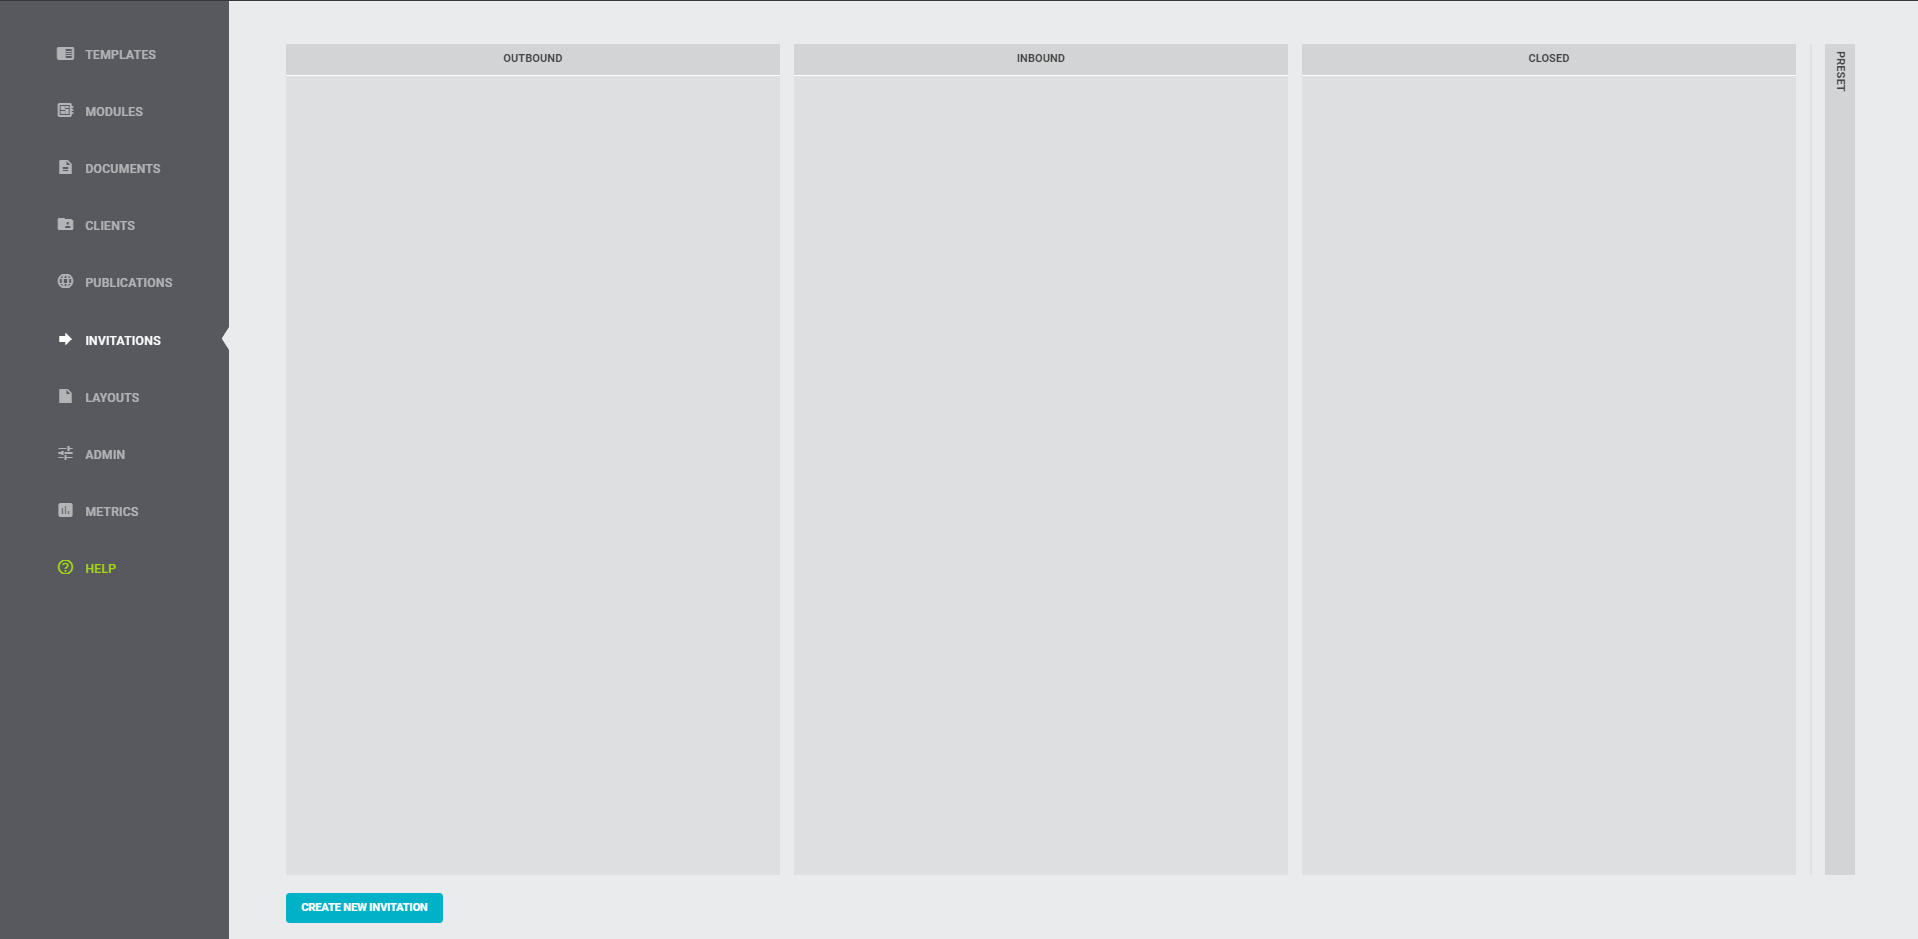
The menu item INVITATIONS is divided into four columns: OUTBOUND, INBOUND, CLOSED and PRESET. At the bottom left you can create a new invitation.
Tip
Clicking on the title opens and closes the columns.

Create an Invitation
At the bottom left you will find the blue button
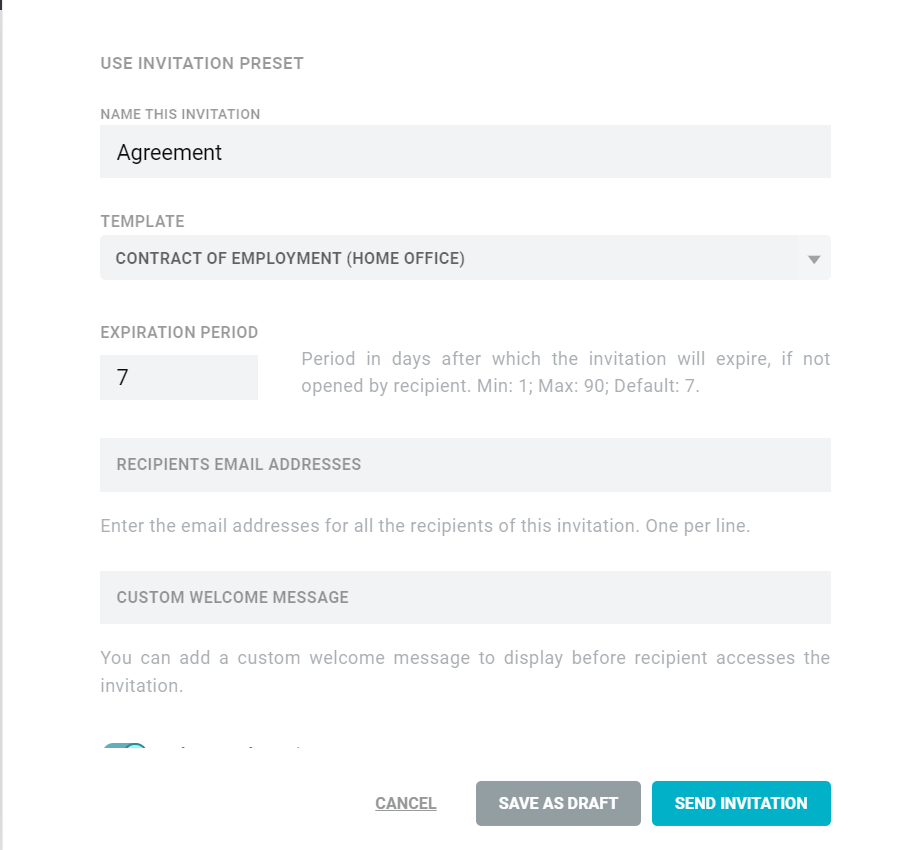
With one click, a new window opens in which you can design the invitation. You can then send the invitation directly or save it as a draft first.
Attention
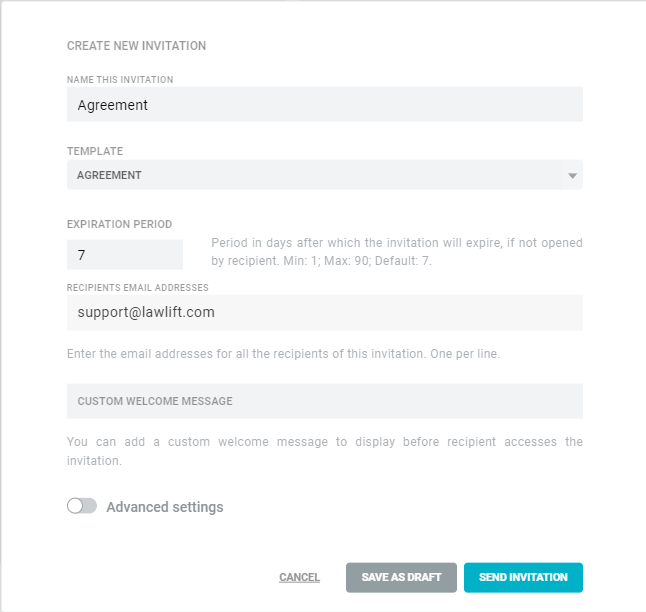
There are three mandatory fields that always must be filled in in order to proceed.
- Title (Please enter the title of the invitation).
- Template (Please select the template to which the invitation refers)
- Recipient (Please enter at least one recipient email address)
Optionally to the mandatory fields, the following additional settings can be stored:
- EXPIRATION PERIOD: The user can additionally define the expiration time, which is limited to seven days by default. If the recipient does not open the invitation by this time, the link will no longer be openable for the recipient.
- CUSTOM WELCOME MESSAGE: The user can optionally compose a custom welcome message. The welcome message will be displayed to the recipient in an extra window before they get to the template.
Furthermore, you can find more settings under the ADVANCED SETTINGS:
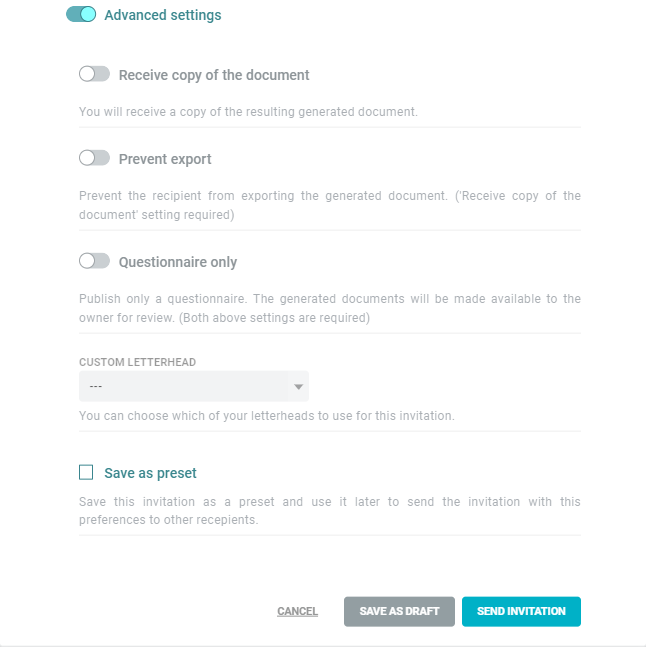
- RECEIVE COPY OF THE DOCUMENT: You will receive a finished copy of the document and can open it from the menu item INVITATIONS. The recipient still has the option to export the document himself once it is ready.
- PREVENT EXPORT: As soon as you activate this option, the copy option is always activated automatically as well. You will receive a finished document. The recipient cannot export a copy of the completed document at the time of completion.
- QUESTIONNAIRE ONLY: As soon as you activate this option, the copy and prevent export options are always activated automatically. You will receive a completed document. The recipient cannot export it. The recipient will see the template only in the form of a questionnaire and not as a complete document.
- CUSTOM LETTERHEAD: You can choose your own layout for the template in the invitation.
Tip
Save an invitation as a default template for easy use later.

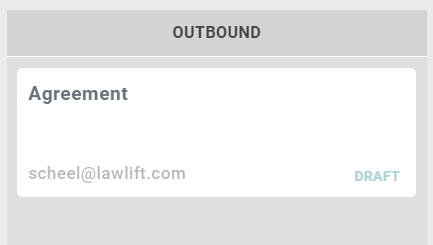
Save as Draft
As soon as you click SAVE AS DRAFT, the invitation will be displayed in the OUTBOUND column with the status DRAFT.
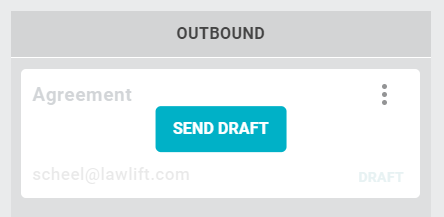
If you move the cursor over the white highlighted field of the invitation, you can edit the invitation under the three grey dots or send it directly using the SEND DRAFT button.
Send Invitation
As soon as you click on SEND INVITATION, the invitation appears in the OUTBOUND column with the status PENDING, because it is not sent immediately.
The sending information will now be displayed on the right for 15 seconds.

Info
In case you made a mistake during the creation or you sent the invitation by mistake, you can undo the sending within 15 seconds.
To do this, simply click the UNDO button. The invitation will automatically become a draft.
After the 15 seconds have elapsed, the status of the invitation changes from PENDING to SENT. The date and time of sending are displayed in the OUTBOUND column.
The recipient will receive an email with a link to fill in the template.
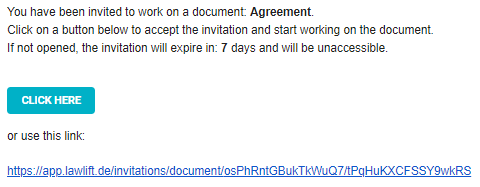
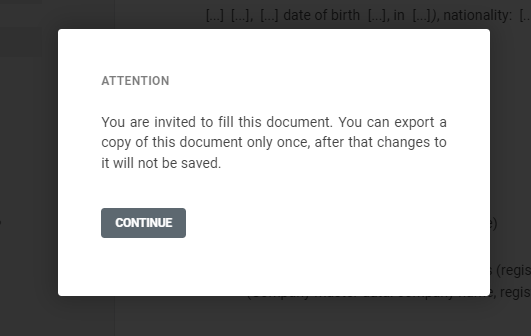
The following note appears for the recipient before the possibility to fill in the document:
As soon as the recipient opens the document, the status of the invitation changes to OPENED.
Info
Even before the recipient has sent the document, you have the possibility to revoke access.
Open the settings and click the REVOKE INVITATION button.

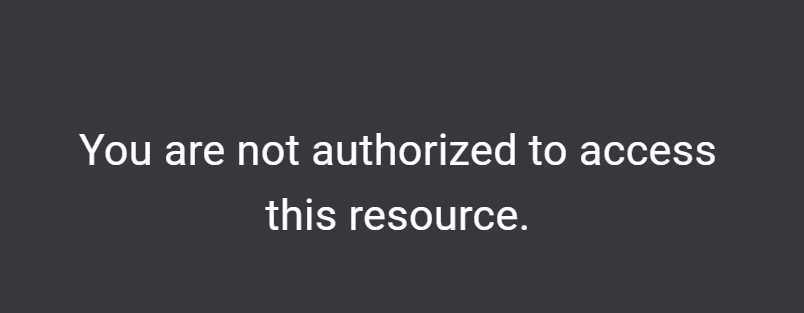
As soon as you have revoked the access, the recipient will see the following message:
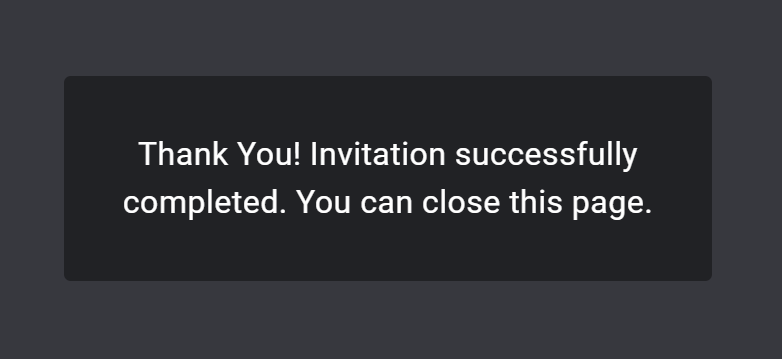
After the export, a window will open at the recipient's, informing him about the successful completion.
The invitation will now be moved to the CLOSED column. You can view your settings by clicking on the three grey dots. In the settings, you can also archive the invitation.
Special Features when setting Receive Copy
If you have specified in the advanced settings that you want to receive a copy of the document, there are some special features.
For the recipient the button EXPORT changes to EXPORT & SEND.

Once the recipient has clicked on EXPORT & SEND, the invitation moves to the INBOUND column.
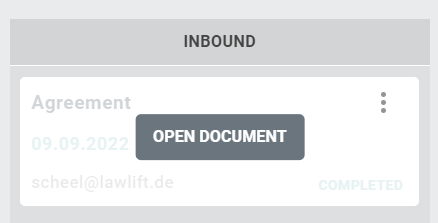
From there, the copy of the completed template can be viewed by clicking the OPEN DOCUMENT button. The document will open in a new tab when the button is clicked, giving you the option to further edit the document and then export it yourself.
Once you have completed this, you can move the invitation to the CLOSED column using the MOVE TO CLOSED button.

Special Feature when setting Publish Interview Only
If you have specified in the settings that only the interview is to be published, the input mask for the recipient looks like this:
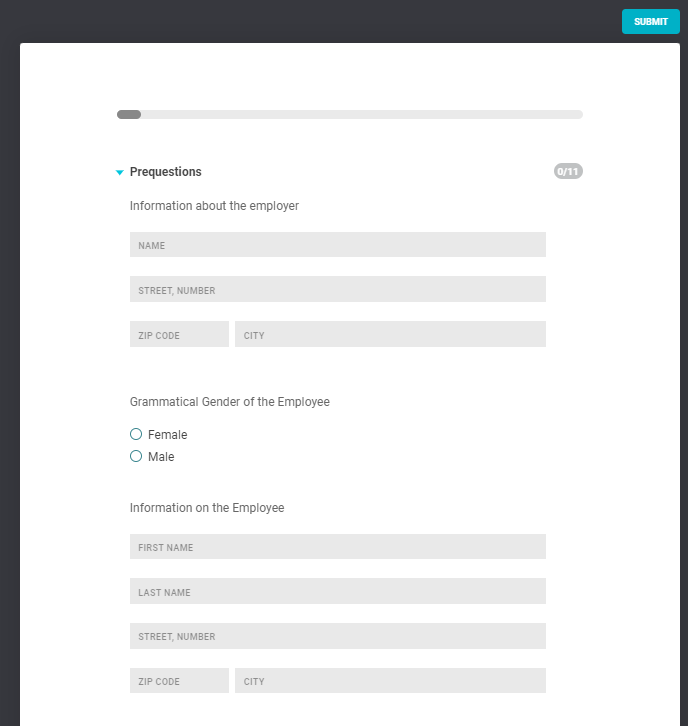
The recipient can only SEND his responses, he cannot export the document himself.
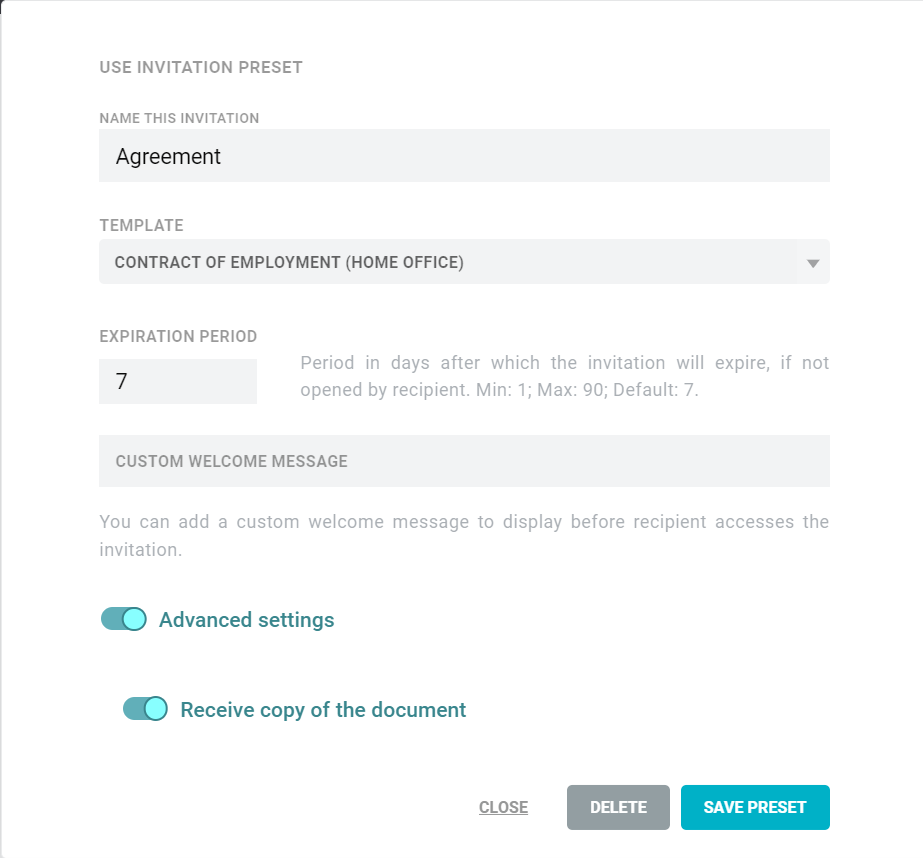
Preset
As soon as you save an invitation as PRESET, the template appears under the PRESET column.
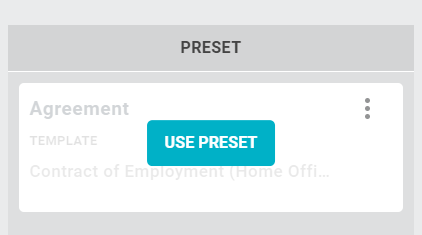
By clicking USE PRESET you can edit the draft of a new invitation.
Click on the three grey dots to edit the preset itself.