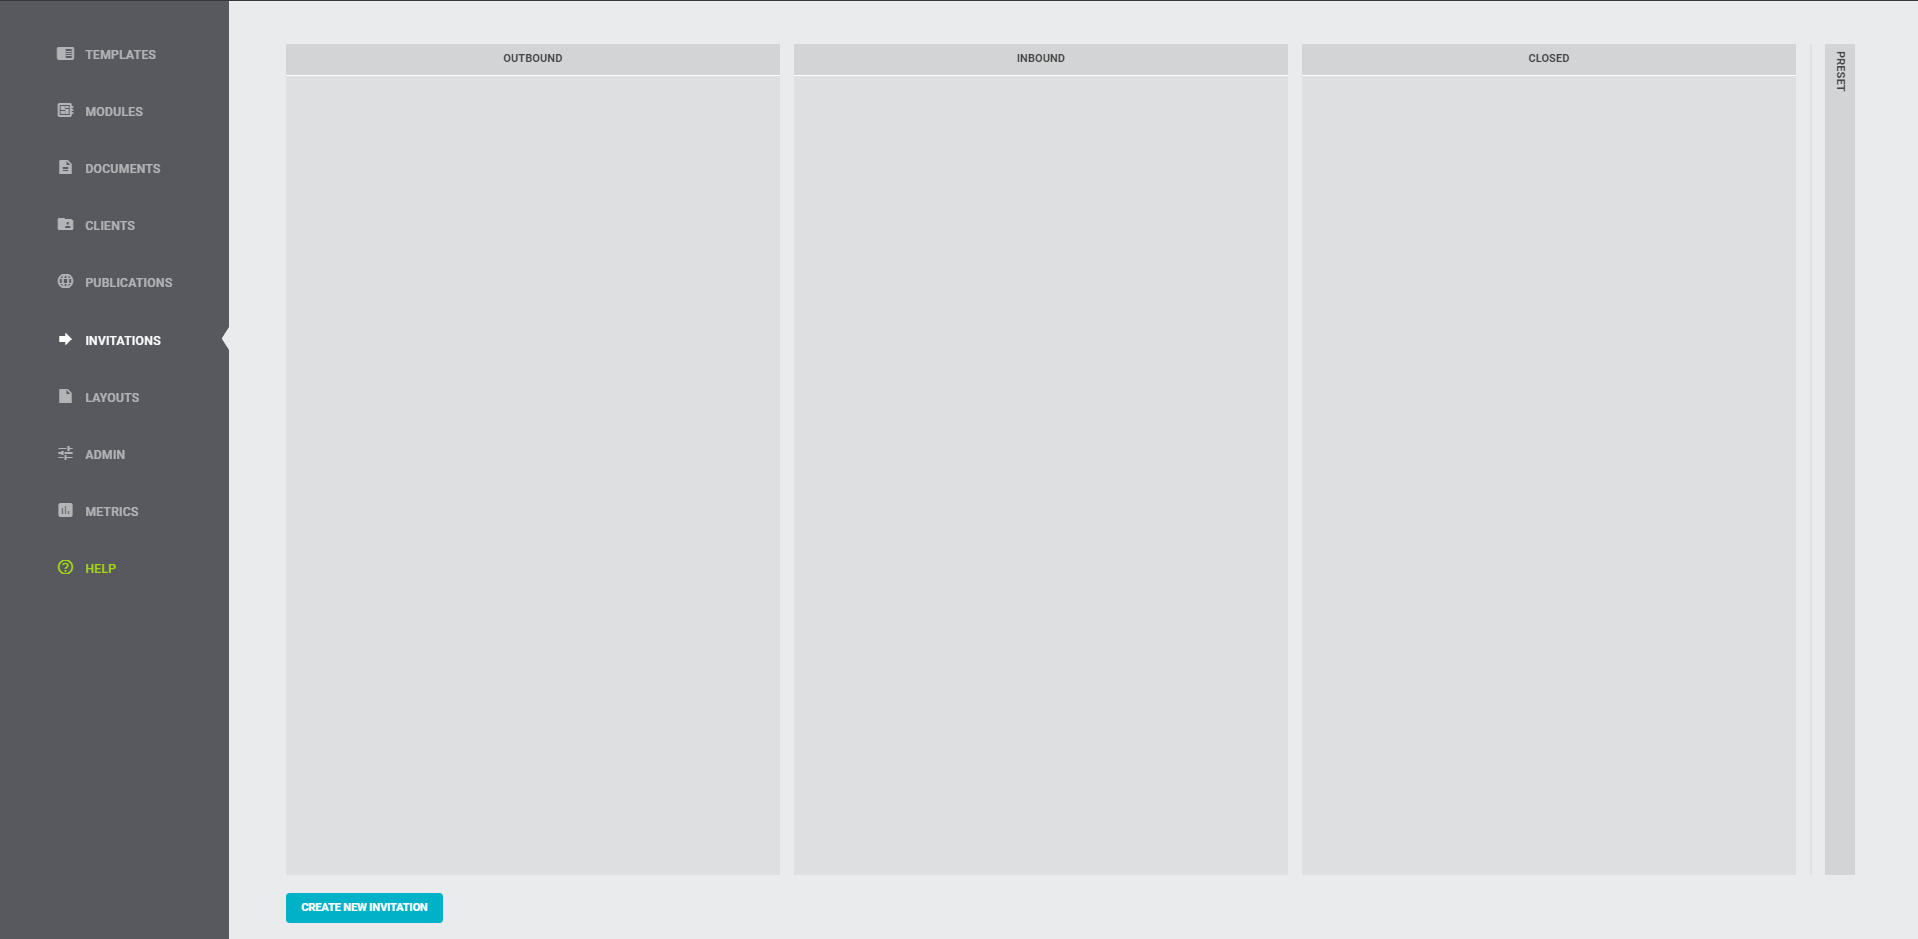
L'élément de menu INVITATIONS est divisé en quatre colonnes : SORTANT, ENTRANT, FERMÉ et PRÉDÉFINI. En bas à gauche, vous pouvez créer une nouvelle invitation.

Conseil
Cliquer sur le titre ouvre et ferme les colonnes.

Créer une Invitation
En bas à gauche, vous trouverez le bouton bleu.

En un clic, une nouvelle fenêtre s'ouvre dans laquelle vous pouvez concevoir l'invitation. Vous pouvez ensuite envoyer l’invitation directement ou la sauvegarder d’abord comme brouillon.

Attention
Il y a trois champs obligatoires qui doivent toujours être remplis pour continuer.
- Titre (Veuillez saisir le titre de l'invitation).
- Modèle (Veuillez sélectionner le modèle auquel l'invitation se réfère).
- Destinataire (Veuillez saisir au moins une adresse e-mail de destinataire).
En plus des champs obligatoires, les paramètres supplémentaires suivants peuvent être enregistrés :
- PÉRIODE D'EXPIRATION : L'utilisateur peut en outre définir le délai d'expiration, qui est limité à sept jours par défaut. Si le destinataire n'ouvre pas l'invitation dans ce délai, le lien ne pourra plus être ouvert pour lui.
- MESSAGE DE BIENVENUE PERSONNALISÉ : L'utilisateur peut éventuellement composer un message de bienvenue personnalisé. Le message de bienvenue sera affiché au destinataire dans une fenêtre séparée avant qu'il n'arrive au modèle.
De plus, vous pouvez trouver plus de paramètres sous PARAMÈTRES AVANCÉS :

- RECEVOIR UNE COPIE DU DOCUMENT : Vous recevrez une copie finie du document et pourrez l'ouvrir à partir de l'élément de menu INVITATIONS. Le destinataire a toujours la possibilité d'exporter le document lui-même une fois qu'il est prêt.
- EMPÊCHER L'EXPORTATION : Dès que vous activez cette option, l'option de copie est toujours également activée automatiquement. Vous recevrez un document terminé. Le destinataire ne peut pas exporter une copie du document complet au moment de la finalisation.
- QUESTIONNAIRE UNIQUEMENT : Dès que vous activez cette option, les options de copie et d'empêchement de l'exportation sont toujours activées automatiquement. Vous recevrez un document complété. Le destinataire ne peut pas l'exporter. Le destinataire verra le modèle uniquement sous forme de questionnaire et non pas comme un document complet.
- EN-TÊTE PERSONNALISÉ : Vous pouvez choisir votre propre mise en page pour le modèle dans l’invitation.
Conseil
Enregistrez une invitation en tant que modèle par défaut pour une utilisation ultérieure facilitée.

Enregistrer en tant que Brouillon
Dès que vous cliquez sur ENREGISTRER EN TANT QUE BROUILLON, l'invitation s'affiche dans la colonne SORTANT avec le statut BROUILLON.

Si vous passez le curseur sur le champ blanc mis en évidence de l'invitation, vous pouvez éditer l'invitation sous les trois points gris ou l'envoyer directement en utilisant le bouton ENVOYER LE BROUILLON.

Envoyer une Invitation
Dès que vous cliquez sur ENVOYER UNE INVITATION, l'invitation apparaît dans la colonne SORTANT avec le statut EN ATTENTE, car elle n'est pas envoyée immédiatement.
Les informations d'envoi seront maintenant affichées à droite pendant 15 secondes.

Info
En cas d'erreur lors de la création ou si vous avez envoyé l'invitation par erreur, vous pouvez annuler l'envoi dans un délai de 15 secondes.
Pour ce faire, il vous suffit de cliquer sur le bouton ANNULER. L’invitation deviendra automatiquement un brouillon.
Une fois les 15 secondes écoulées, le statut de l'invitation passe de EN ATTENTE à ENVOYÉ. La date et l'heure de l'envoi sont affichées dans la colonne SORTANT.
Le destinataire recevra un e-mail avec un lien pour remplir le modèle.

La note suivante apparaît pour le destinataire avant la possibilité de remplir le document :

Dès que le destinataire ouvre le document, le statut de l'invitation passe à OUVERT.
Info
Avant même que le destinataire n'envoie le document, vous avez la possibilité de révoquer l'accès.
Ouvrez les paramètres et cliquez sur le bouton RÉVOQUER L'INVITATION.

Dès que vous aurez révoqué l'accès, le destinataire verra le message suivant :

Après l'exportation, une fenêtre s'ouvrira chez le destinataire, l'informant de la réussite de l'exportation.

L'invitation sera désormais déplacée vers la colonne FERMÉ. Vous pouvez consulter vos paramètres en cliquant sur les trois points gris. Dans les paramètres, vous pouvez également archiver l'invitation.

Fonctionnalités spéciales lors de la configuration de la réception d'une copie
Si vous avez spécifié dans les paramètres avancés que vous souhaitez recevoir une copie du document, il existe certaines fonctionnalités spéciales.
Pour le destinataire, le bouton EXPORTER devient EXPORTER & ENVOYER.

Une fois que le destinataire a cliqué sur EXPORTER & ENVOYER, l'invitation passe dans la colonne ENTRANT.

De là, la copie du modèle complété peut être consultée en cliquant sur le bouton OUVRIR LE DOCUMENT. Le document s'ouvrira dans un nouvel onglet lorsque vous cliquerez sur le bouton, vous donnant la possibilité de l'éditer davantage, puis de l'exporter vous-même.
Une fois cette opération terminée, vous pouvez déplacer l'invitation vers la colonne FERMÉ à l'aide du bouton DÉPLACER VERS FERMÉ.

Fonctionnalité spéciale lors de la configuration de Publier l'Entretien Uniquement
Si vous avez spécifié dans les paramètres que seul le questionnaire doit être publié, le masque de saisie du destinataire ressemble à ceci :

Le destinataire ne peut que ENVOYER ses réponses, il ne peut pas exporter le document lui-même.
Préréglage
Dès que vous enregistrez une invitation en tant que PRÉRÉGLAGE, le modèle apparaît sous la colonne PRÉRÉGLAGE.

En cliquant sur UTILISER PRÉRÉGLAGE, vous pouvez éditer le brouillon d'une nouvelle invitation.

Cliquez sur les trois points gris pour modifier le préréglage lui-même.

